It’s said that ‘first impressions count’ and I cannot agree more with this statement, especially when it comes to the outside of your home. It’s the first thing people see when walking up to your house and you can either blend in with the rest of the street or stand out from the crowd. The easiest way to upgrade your look is by giving your front door a fresh coat of paint. It may seem easy, but finding the right colour to choose is sometimes a tough choice!
In the autumn, the team at Valspar reached out to us to see if we needed any paint for upcoming projects. Both Laura and I did have a few projects in mind that did require paint. Therefore, Valspar very kindly supplied us paint for this project and an upcoming one which Laura will share later in the year.
I’m lucky enough to work from home in my garden office. It’s a great way to just leave home life behind and actually go to work, even if my commute is about 30 seconds (oh the hardship). Ever since the office was built, I’ve never been too keen on the colour of the door. It’s a different kind of wood to the rest of the cabin and therefore, looks a little out of place. I was really keen to paint over the original stain with something smart.
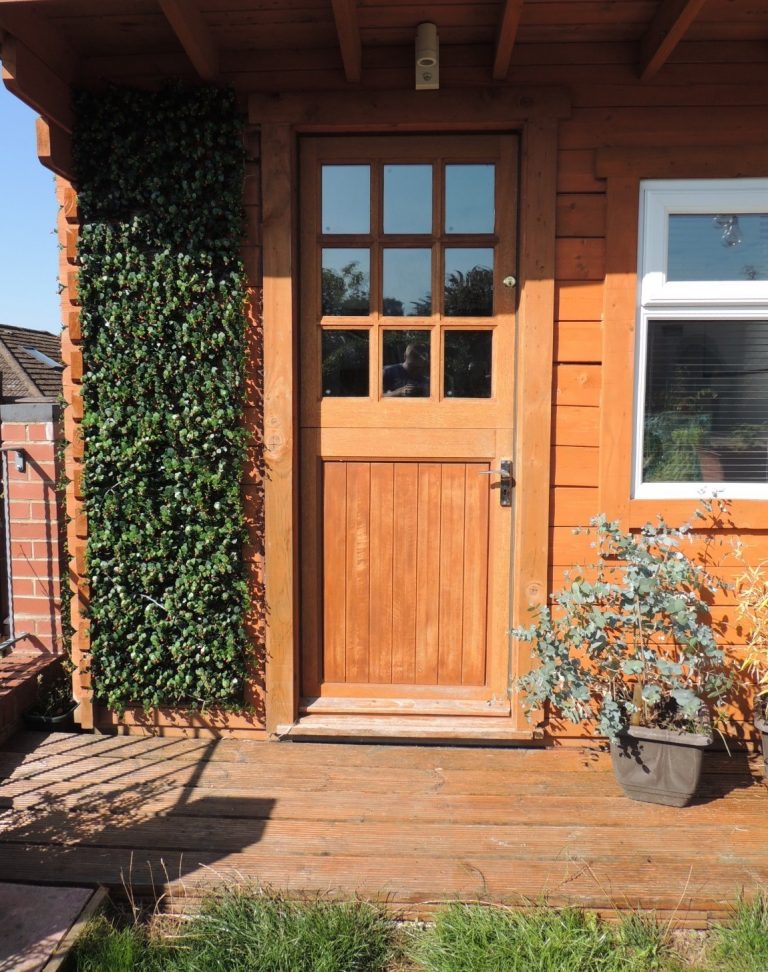
I visited my local B&Q and picked up a few Valspar colour charts. Firstly, there are so many to choose from which is perfect! Ideally, I was looking for a modern colour and opted for Grey Shingle in satin. It wasn’t too dark and wasn’t too light so seemed perfect for the door.
The paint is designed for both external wood and metal, so great for all kinds of doors. It’s crack-resistant so it won’t matter if it’s subject to adverse temperatures. The exterior range of Valspar paint is all weatherproof, mould resistant, UV resistant and long lasting. It’s guaranteed not to crack, flake or peel for up to 15 years! Perfect!
I was really excited to get started so I took the door off the hinges and gave it a good clean. This step is always important to ensure there’s no residue or general dirt on the door. I decided not to put an undercoat on the door as this is the first time painting it. After cleaning, I sanded down
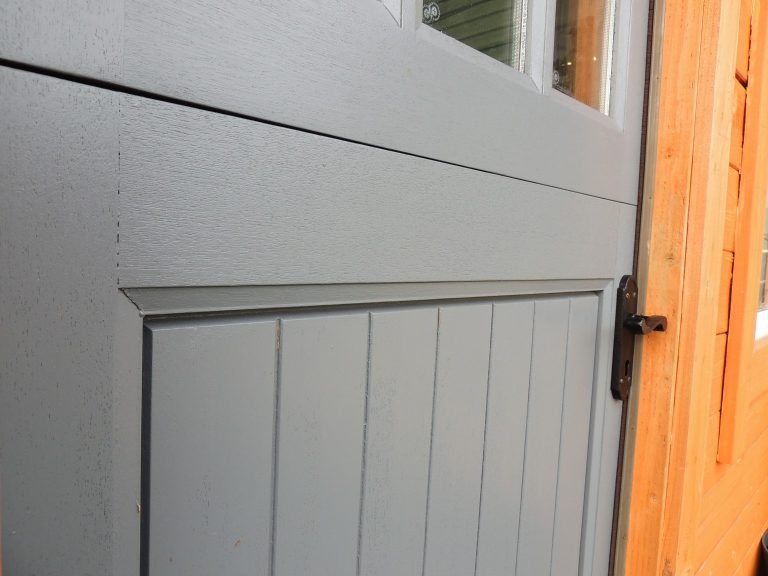
I used a brush to apply the paint and it went on extremely smooth. The consistency was easy to deal with and didn’t drip everywhere. The paint is thick and covered the wood perfectly. After the first coat, I let it dry for the recommended time before applying the final coat.
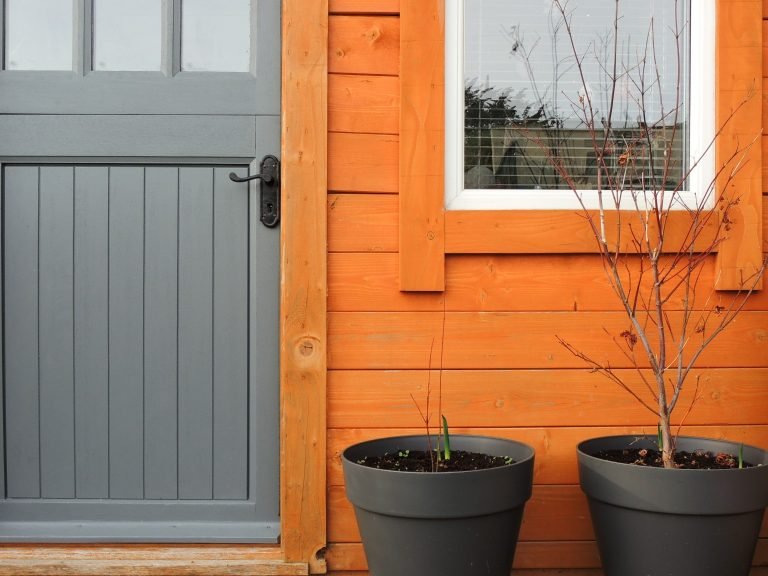
Once the final coat was dry, I touched up the little bits that I had missed. The coverage overall looks brilliant. It’s a strong vibrant colour and is so smooth. It looks as though I had purchased the door this colour!
To finish off the look, I spray painted the lock with some black paint and replaced the stainless steel handle with a black one. I still want to change the handle to something a bit more modern at a later date.
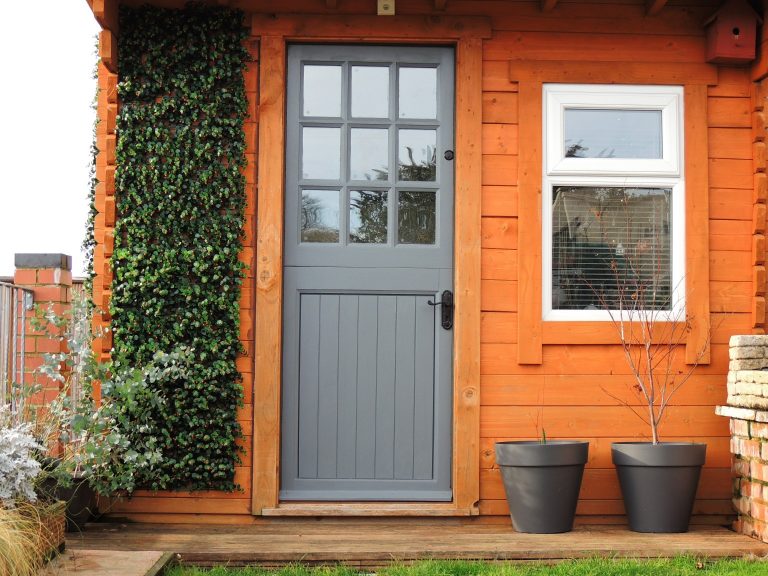
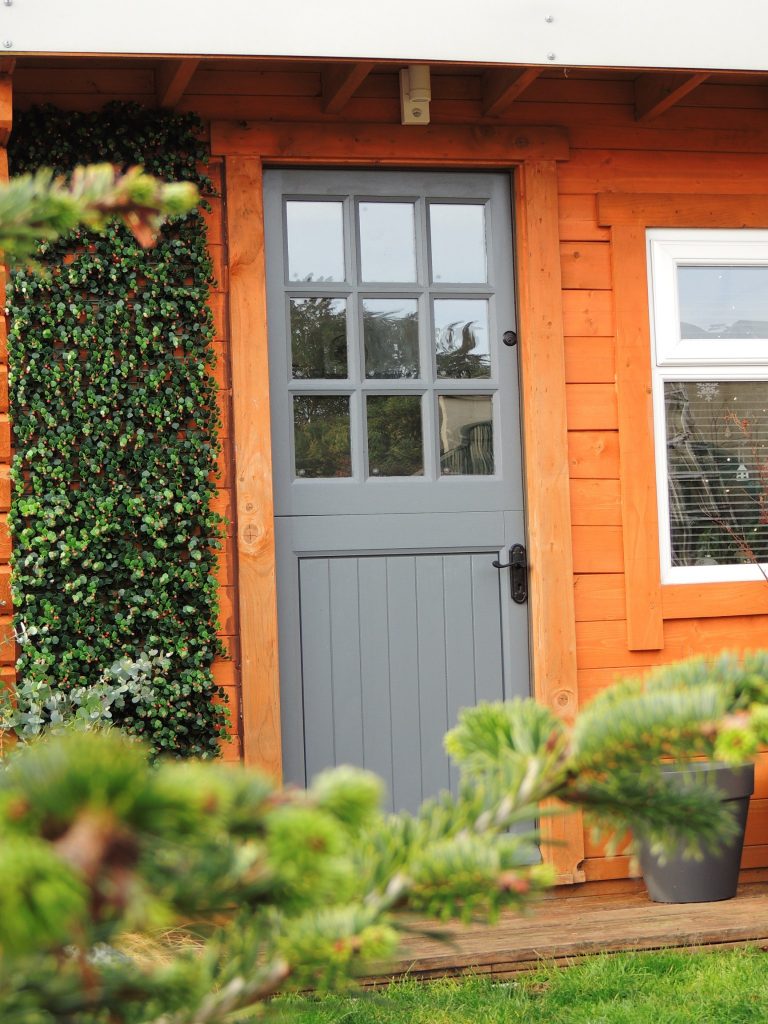
I’m extremely impressed with the quality of this paint and how easy it was to apply. I have some paint left over so I’m tempted to paint the PVC window frames, just need to research how this to do this properly – so if you have any advice, please do pop it in the comments below.
To finish off the overall look, I purchased a few new plant pots in a dark grey to match the finished door. Looking at the before and after pictures shows what a huge difference a simple repaint can do. Yes, this is on my garden office, but imagine this on a front door. It would look stunning!
If you’re looking to redecorate the exterior or interior of your home, pop into a B&Q and browse over 2,000 Valspar colours. The friendly team can also colour match to an item you have. Great if you want to match the colour to a particular item and keep everything uniform. Not sure how much paint to purchase? The Valspar website also has a handy paint coverage calculator. Head on over to valsparpaint.co.uk
We were very kindly gifted vouchers to redeem against Valspar paint for this specific project. As always, our comments are genuine and if we really didn’t like something, trust us, we wouldn’t promote the product.


4 comments
Looks great Ricky -love that door colour!
a good long lasting colour choice. Painting is pretty much the only DIY task I’ll attempt!
The grey colour looks great! I’d say paint the uPVC window too. Karen from Making Spaces has written about it.
Thanks it’s very productive and informational article, Plus the paint theme is very much natural and organic, which is gives positive vibes to a person whoever watches it, thanks again.